How do you tile a recessed shower shelf?
- Step 1: Choosing Your Trowel. If your tile is 1/4 inch thick we recommend using a 1/4" x 1/4" square notched trowel.
- Step 2: Add the Sill.
- Step 3: Comb Thin-Set on Niche Back Wall.
- Step 4: Backbutter the Sill Tile.
- Step 5: Add Tile to Sill.
- Step 6: Laser Level the Sill.
- Step 7: Make the Sill Proud.
- Step 8: Level Each Sill.
.
Keeping this in consideration, should you tile shower niche first?
As a general rule it is always the best idea to mount / build your tiled or finished shower niche in a wall that is not an outside facing wall.
Also Know, do shower niches leak? Moisture Damage The shape of a shower niche can promote standing water. Niche surfaces made of porous materials such as stone, or that have a lot of grout, can absorb moisture or leak, resulting in structural damage.
Similarly one may ask, are shower niches a good idea?
Walk-in showers never seem to have enough storage. All your bottles end up on the floor or a bench where they're in the way or can be easily knocked over. Niches are the perfect answer. They're cleaner than many wire storage devices and don't take up any room in your shower.
What do you use to shelf a shower niche?
Edgy granite, decadent marble, and multi-colored tiles are just a few options for adorning your shower niche to fit your bathroom's theme, with no space too small to benefit from this instant upgrade.
Related Question AnswersHow do you build a recessed shelf?
Table of Contents- Introduction.
- Step 1: Cut Into the Drywall.
- Step 2: Complete the Drywall Hole.
- Step 3: Cut the Plywood to Make the Shelving Unit.
- Step 4: Build the Shelving Unit.
- Step 5: Finish or Paint.
- Step 6: Brace the Drywall or Studs.
- Step 7: Install the Unit.
How do I make recessed shelves in my bathroom?
How to Build Recessed Bathroom Shelves- Cut the Shelf Pieces. Measure the exact dimensions of your newly cut hole, then cut a piece of 1/4″ plywood to match.
- Assemble the Recessed Bathroom Shelves.
- Install the Recessed Bathroom Shelves.
- Attach Trim to Outside Edge.
- Paint or Stain Your Shelves.
How do you waterproof a shower niche?
Step by step:- Use fiberglass tape, not drywall mesh tape.
- Precut the pieces of tape to wrap the walls, corners, bottom and top, and any other seams.
- Apply membrane with a six-inch putty knife to the bottom of the niche, working the membrane into all the seams with the putty knife.
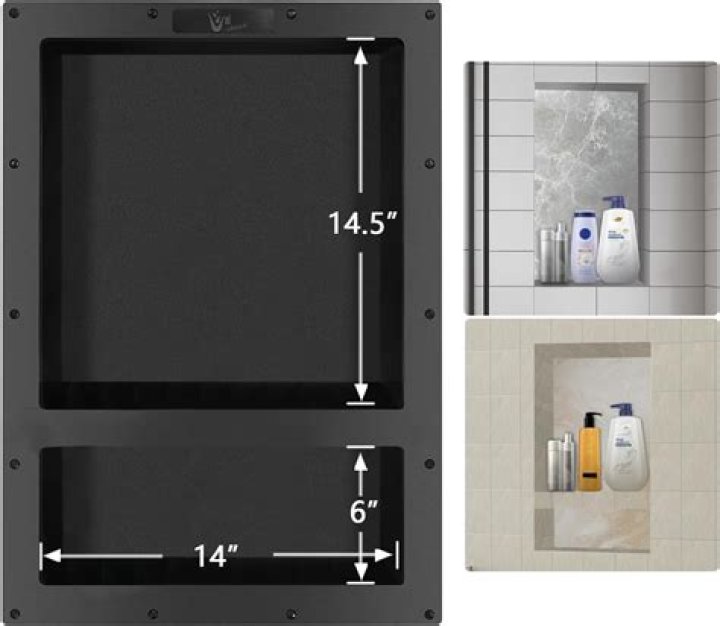
What height should a shower niche be?
Shower Niche Height The ideal height for a bathtub shower niche sits at chest to eye-level when standing -- a height of around 48 to 60 inches, as this height suits most adults. Set aside a 12-by-24 inch space between studs to hold shampoos, rinses, scrubbers and razors.How do you edge a tile without a bullnose?
Here are three different ways to finish the edges of your design without using bullnose tile- Make your own bullnose. If you're using a full-body porcelain tile, you can make your own finished edges!
- Metal Trim.
- Marble Accents.
Where should a shower niche be placed?
For this reason, the wall opposite the shower head is the most popular place for shower niches. Regarding shower niche height; if it's a regular stand up shower, a placement height above the waist (approximately 3 feet from the shower pan/base) would be most convenient for reach.Where do you place a corner shower shelf?
A good rule of thumb is to place a shower corner shelf at about chest-height of the average user of the shower, although you should choose the height that makes the most sense for you and your space.How do you make a corner shelf in a tile shower?
On new tile walls, the correct way to install a ceramic corner shelf is to set it directly into the thin-set mortar during tile installation. But you can add a corner shelf (or another soap dish) on existing tile. Stop by a tile shop and pick up a “flat-back” corner shelf unit (about $20).How do you tile a shower corner?
More Tips- Try to line up your corners.
- Once thinset becomes too thick and dry, throw it away and make a new batch.
- Don't just place tile onto thin-set.
- Watch for tipped corners.
- Use a screwdriver to pry up tiles that are in the wrong place.
- Open a few boxes of tile and mix them up.
- Make sure you plan accordingly.